

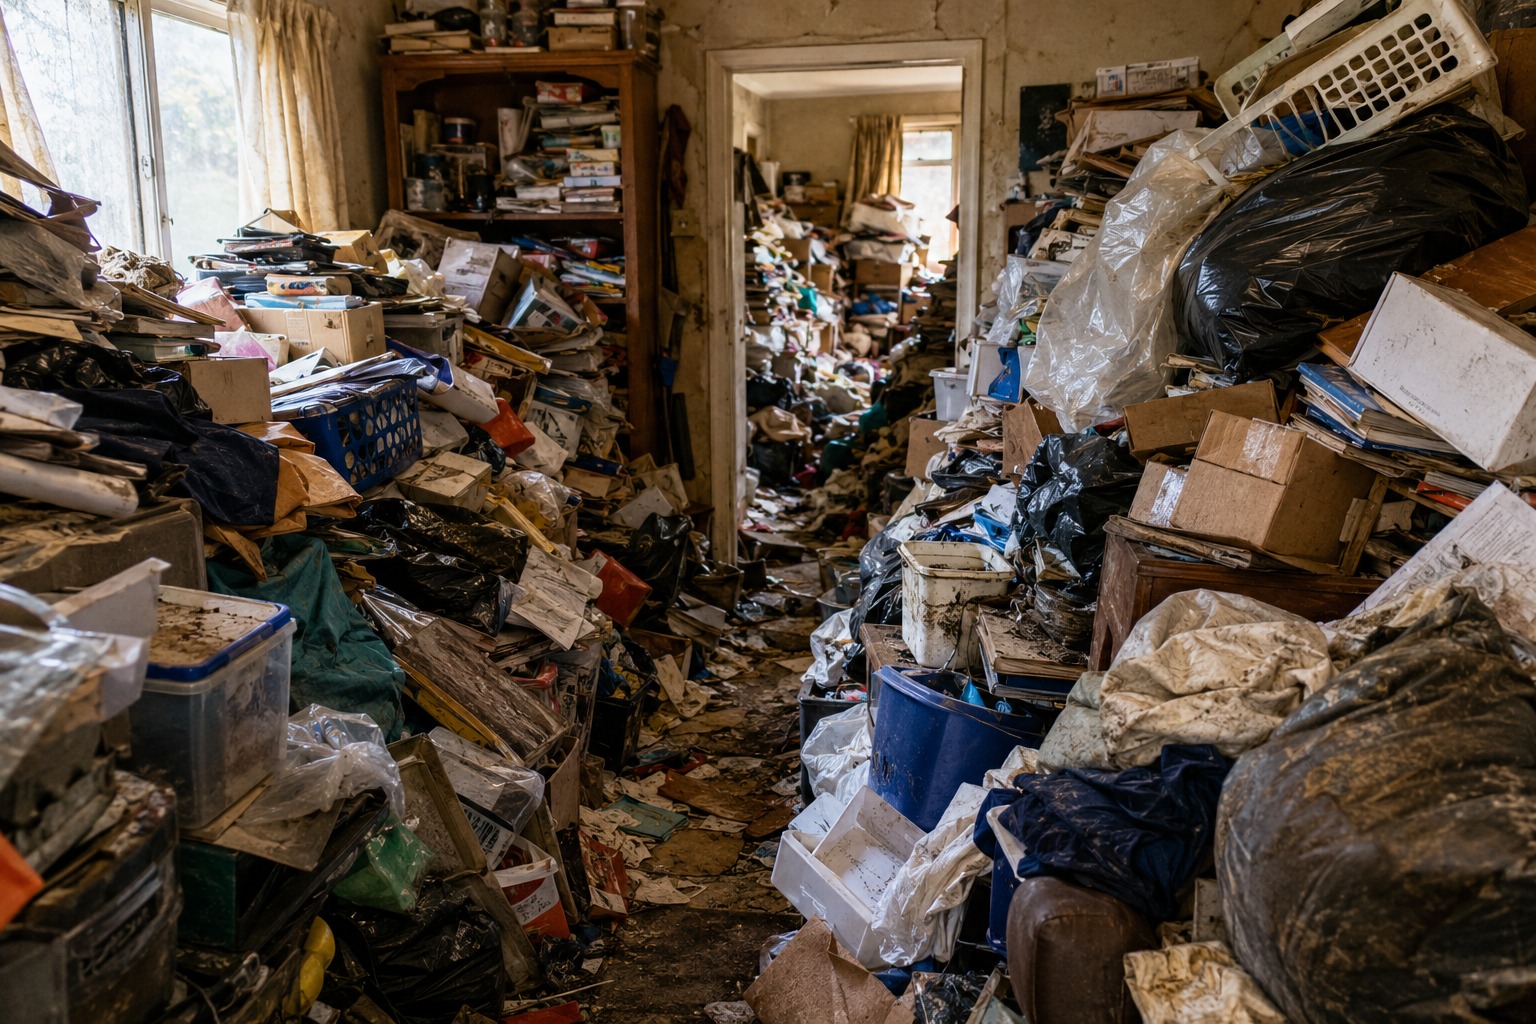
Clearing a hoarder house is one of the most emotionally and physically demanding tasks a person can face. Whether you’re dealing with a loved one’s property, managing an estate, or helping someone transition out of a lifelong home, the scale of the job can feel completely overwhelming from the moment you step through the door.
At iTrade House Clearance Norfolk, we’ve worked through hundreds of these situations — rooms floor-to-ceiling with belongings, blocked exits, years of accumulated items that carry both practical and personal weight. What we’ve learned is this: it doesn’t have to spiral into chaos. With the right approach, the right mindset, and the right team, even the most challenging hoarder clearance can be handled with care, structure, and dignity.
This guide walks you through everything you need to know — from assessing the property safely to disposing of items responsibly.
Understanding What You’re Actually Dealing With
Before you move a single box, it’s worth pausing to understand the nature of hoarding — not just as a physical problem, but as a human one.
Hoarding disorder is recognised by the NHS as a genuine mental health condition. The items in a hoarder’s home are rarely random junk to the person who lives there. They may represent memories, security, or protection against perceived loss. This matters for two reasons: first, it shapes how you should communicate with the person involved (if they’re still living there), and second, it affects how you approach the sorting process itself.
That said, from a practical standpoint, hoarded properties often present real hazards:
- Structural risks — weakened floors, blocked stairways, or compromised load-bearing areas
- Fire hazards — accumulated paper, fabrics, and blocked exits
- Biological risks — mould, vermin, decaying organic matter, or human and animal waste
- Chemical hazards — old medications, paint cans, cleaning products, or petrol containers
A responsible clearance starts with a proper risk assessment, not a skip and a van.
Step 1: Assess Before You Act
Walk the property before you begin any physical work. If you can’t safely walk through it, that tells you something important.
Look for:
- Structural red flags — sagging ceilings, damp or rotten floorboards, evidence of subsidence
- Active infestations — rodent droppings, insects, signs of nesting
- Biohazard concerns — human waste, decomposing food, animal remains
- Utility issues — whether gas, water, and electricity are connected and functional
If you identify any serious hazards — particularly biological or structural — these need to be addressed by specialists before a general clearance team enters. Attempting to power through without professional assessment puts everyone at risk.
Take photographs at every stage. This protects you legally, helps with insurance, and provides a record if the property is part of an estate or tenancy dispute.
Step 2: Get the Right Permissions in Place
This step is often skipped, and it causes serious problems later.
If the hoarder is still alive and living in the property, you cannot simply remove items without their consent — even if you’re a family member. Doing so without legal authority may constitute theft or a violation of their rights. Work with the person where possible, and consider involving a social worker, occupational therapist, or hoarding specialist to facilitate the process sensitively.
If the property belongs to a deceased estate, you’ll need to confirm the legal position before any clearance begins — typically a Grant of Probate or Letters of Administration.
If you’re a landlord dealing with a tenant who has left or been evicted, make sure you follow the correct legal process. You may need to store items for a defined period and attempt contact before disposal.
Getting this right from the start avoids costly mistakes — and protects you if the situation becomes contentious.
Step 3: Gather the Right Equipment
A hoarder house clearance is not a job you tackle in jeans and trainers. Proper personal protective equipment (PPE) is non-negotiable, particularly in properties where biological hazards are present.
Standard PPE for a hoarder clearance:
- Heavy-duty disposable coveralls (Tyvek suits)
- Nitrile gloves (wear two pairs in high-risk areas)
- P2 or P3 respirator masks — not basic dust masks
- Safety boots with steel toecaps
- Eye protection where appropriate
Practical equipment you’ll also need:
- Heavy-duty refuse sacks (not standard bin bags — these split under weight)
- Clearly labelled sorting boxes: Keep / Donate / Recycle / Dispose
- Folding trolleys or sack trucks for heavy loads
- A robust torch or head torch for dark or utility-cut areas
- A vehicle suitable for multiple loads — or a pre-booked skip
Don’t underestimate the volume. Most people seriously underestimate how much material is in a hoarder property until they begin removing it layer by layer.
Step 4: Work Room by Room — With a Clear System
One of the most common mistakes in hoarder clearances is working without structure. People move between rooms, make decisions on the fly, and end up creating a secondary chaos in the garden or driveway.
Work methodically. Always.
Start with whichever room poses the greatest safety risk, or — if the property is broadly safe — start with the area that will give you the most useful working space once cleared. Often this is a hallway or entrance area, because it gives you access and movement throughout the rest of the property.
For each room, apply a consistent sorting process:
The Four-Category Method
1. Keep Valuables, documents, irreplaceable personal items, items specifically requested by the owner or family. These go directly into sealed, labelled boxes — not a corner of the room.
2. Donate or Sell Items in reasonable condition that have resale or donation value. Charity shops, furniture banks, online marketplaces, or local community groups. Be realistic — charity shops receive enormous quantities of goods and cannot accept everything.
3. Recycle Metal, clean cardboard, glass, electronics (WEEE). Local recycling centres and council facilities handle most of this.
4. Dispose Broken, contaminated, or unsalvageable items. This is often the largest category. It should go to a licensed waste carrier — not fly-tipped, not burned.
Work through one category at a time within each room. Don’t let the categories blur, or you’ll end up resorting everything twice.
Learn More: Urgent House Clearance Norfolk – What To Do When You Need It Done Fast
Step 5: Handle Valuables and Documents With Extreme Care
In a hoarder property, valuable items are frequently buried, hidden, or stored in unexpected places. Cash has been found in cereal boxes. Jewellery has turned up in old coat pockets. Wills, deeds, and irreplaceable photographs can be tucked inside unassuming folders or underneath decades of accumulated material.
Never assume something is worthless because it looks like rubbish.
Before any item is consigned to the disposal pile, check it. Open envelopes. Shake books. Look inside bags and containers. If you’re clearing an estate, this diligence can make a significant difference to the value recovered.
Documents deserve particular attention. Look out for:
- Wills and legal papers
- Bank statements, pension documents, or share certificates
- Insurance policies
- Property deeds or mortgage documents
- Passports, birth certificates, or National Insurance records
Box these separately and pass them to the relevant executor, solicitor, or family member as a priority.
Step 6: Manage Waste Responsibly and Legally
This is where people frequently cut corners — and it can result in serious consequences.
Fly-tipping is illegal. Disposing of waste from a clearance on public land, in a lay-by, or at an unauthorised site is a criminal offence under the Environmental Protection Act 1990. Fines can reach £50,000 and repeat offenders face prosecution. More to the point — it’s simply not acceptable.
All waste from a hoarder clearance must be handled through legitimate channels:
- Hire a licensed waste carrier — check the Environment Agency’s public register
- Use your local Household Waste Recycling Centre (HWRC) for smaller loads (note: some councils restrict contractor use)
- Arrange a permitted skip through a reputable provider
At iTrade House Clearance Norfolk, we hold a current waste carrier licence, meaning every item that leaves a property is tracked and disposed of through authorised routes. This matters both legally and ethically — and clients deserve to know that the clearance has been done properly.
Step 7: Clean the Property After Clearance
Once the physical clearance is complete, the property will almost certainly require a deep clean before it’s habitable, marketable, or ready for any next use.
In standard properties this might mean a thorough scrub-down of surfaces, floors, and fixtures. In more challenging hoarder clearances — particularly where there has been animal activity, human waste, or significant damp — you may need professional biohazard cleaning.
Biohazard cleaning involves:
- Specialist disinfectant treatment
- Odour neutralisation (not masking)
- Potential removal and disposal of contaminated surfaces
- Verification cleaning to certified standards
This is not a job for a domestic cleaner or a bucket of bleach. If in any doubt, bring in professionals with the appropriate training and insurance.
How Long Does a Hoarder House Clearance Take?
This is one of the most common questions we receive, and the answer is genuinely: it depends.
A moderately affected single-bedroom flat might be cleared in a day with a two-person team. A large detached property with decades of accumulated material, structural complications, and biohazard concerns might take a week or more — particularly when items need to be carefully reviewed for valuables or estate purposes.
Variables that affect timescale include:
- Size and layout of the property
- Volume and type of material
- Number of people involved in the clearance
- Whether the owner or family members need to be consulted throughout
- Severity of any hazards requiring specialist attention
- Volume of items going to charity, auction, or resale vs. direct disposal
It’s always better to be realistic about timescale from the outset than to rush a clearance and miss something important — or cause unnecessary distress to a family already under strain.
Should You Do It Yourself or Hire Professionals?
There’s no single right answer — but there are situations where professional help is clearly the better option.
Consider doing it yourself if:
- The property is relatively lightly hoarded
- There are no significant biohazard or structural concerns
- You have family members available to help, and enough time to do it properly
- The person involved is engaged with the process and not in emotional crisis
Consider hiring a professional house clearance company if:
- The volume of material is beyond what you can practically manage
- There are health, safety, or hazardous waste concerns
- The clearance needs to be completed to a deadline (probate, tenancy, sale)
- You want to ensure valuables are properly identified and handled
- The emotional weight of the situation makes it difficult for family to be objective
A good clearance company should be transparent about their methods, hold a waste carrier licence, provide a clear written quotation, and treat the property — and the situation — with genuine respect.
Working With Grieving or Resistant Families
Perhaps the hardest part of any hoarder clearance is the human element. Sometimes the person who hoarded has passed away, leaving family members to manage a property that feels overwhelming and grief-laden. Sometimes the hoarder is still living, reluctant, or actively resistant to the clearance.
In both cases, rushing or forcing the process rarely works well.
Where the person is still involved, try to:
- Give them agency where possible — the clearance will go better if they feel respected, not steamrolled
- Agree in advance which categories they will make decisions on, and which can proceed without them
- Accept that some items you see as clearly worthless may matter deeply to them
- Work with support professionals if emotional distress becomes a barrier to progress
Where the property is an estate, give family members time to identify items they wish to keep before the broader clearance begins. Regret over discarded photographs or personal items is difficult to recover from.
At iTrade House Clearance Norfolk, we work alongside families through some genuinely difficult moments. We’ve learned that sensitivity and efficiency are not opposites — in fact, handling the human side of things well often makes the practical side run more smoothly.
Key Takeaways: A Safe, Efficient Hoarder Clearance
Clearing a hoarder house is never just about removing stuff. Done properly, it involves:
- A thorough safety assessment before any work begins
- Legal clarity on ownership and permission
- Proper PPE and equipment throughout
- A structured, room-by-room sorting system
- Careful handling of valuables and documents
- Responsible, licensed waste disposal
- Appropriate cleaning once the clearance is complete
- Sensitivity to the people involved at every stage
Whether you’re approaching this as a family member, a property manager, or a landlord, the investment in doing it properly — safely, legally, and humanely — is always worth it.
Learn More: What Can Be Reused, Recycled or Sold During House Clearance?
Need Help With a Hoarder House Clearance in Norfolk?
iTrade House Clearance Norfolk provides professional, fully licensed house clearance services across Norfolk and the surrounding area. We work with families, solicitors, landlords, and local authorities on clearances of all sizes — including complex hoarder properties.
We hold a current waste carrier licence, carry full public liability insurance, and approach every job with the discretion and respect it deserves.
If you’d like a free, no-obligation quotation or simply want to talk through what’s involved, get in touch with our team today. We’re here to help — not to judge.
